Product Description
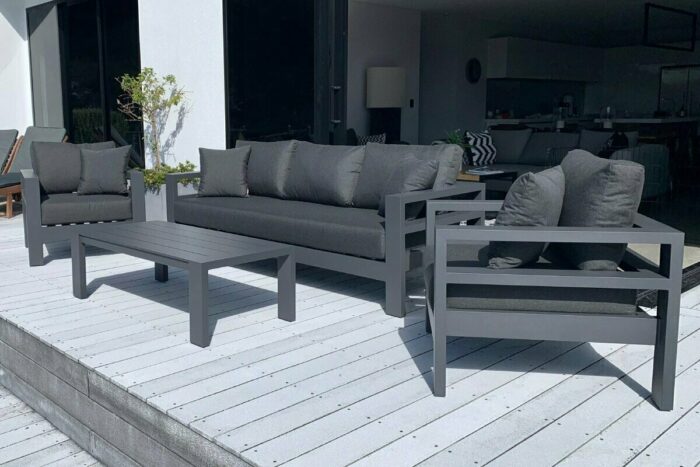
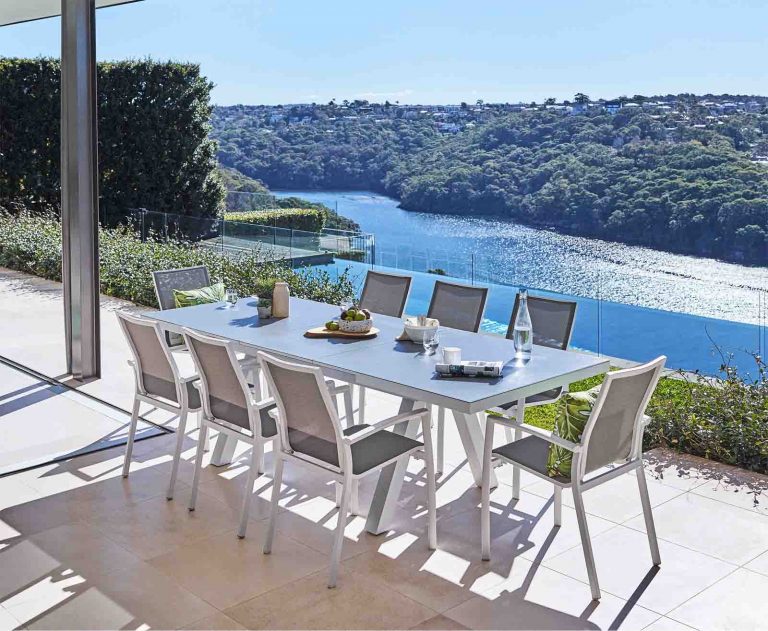
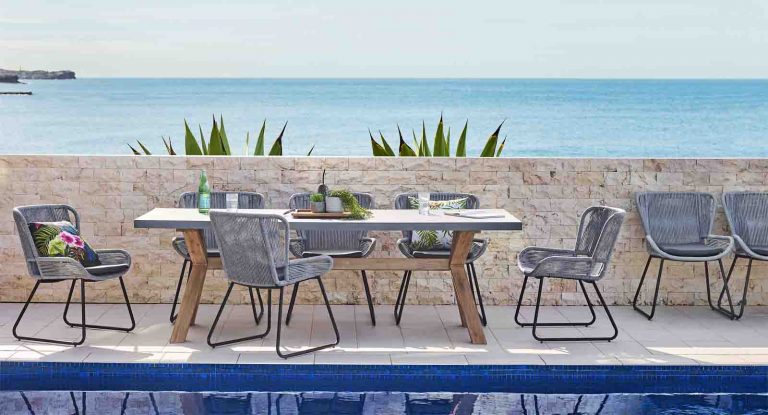
Customized Plastic Products Outdoor Garden Furniture Plastic Injection Tool Plastic Injection Molding Plastic Mold Design Mold Development Mold Processing Mold Injection
Plastic Injection Molds Parts Service
HangZhou CHINAMFG offers more injection molds parts design and manufacturing service, we have more 10+ experience in injection molds field. All of projects we will put them from DFM to PFM working flow to ensure products quality, from molds design, mold flow analysis, per-mold machining review a series of testing reports to make sure mold production running smoothly. We are proud of our mold producing flowing, product quality guarantee, delivery on time and we have professional engineer team to support your projects, make it so easy, make you so comfortable.
Plastic Mold Design Xihu (West Lake) Dis.lines
Size
The maximum part outline that can be molded is approximately 18.9 in. (480mm) by 29.6 in. (751mm) or roughly equivalent to 175 sq. in. (1,129 sq. cm.). A maximum part volume of approximately 59 cu. in. Depth up to 4 in. (101mm) from the parting line with 3 degrees of draft, or up to 8 in. (202mm) total if the parting line can pass through the middle of the part, inside and outside. Deeper parts are limited to a smaller outline.
Draft
A taper applied to the faces of the part that prevent them from being parallel to the motion of the mold opening is called draft. This keeps the part from being damaged due to scraping as the part is ejected out of the mold. Recommended draft:
0.5 degrees on all vertical faces is strongly advised.
2 degrees works very well in most situations.
3 degrees is minimum for a shutoff (metal sliding on metal).
3 degrees is required for light texture (PM-T1).
5 or more degrees is required for heavy texture (PM-T2).
Tolerances
Typically, Proto Labs can maintain a machining tolerance of ±.003 in. (0.08mm) with an included resin tolerance that can be greater than but no less than ±.002 in./in. (0.002mm/mm).
Wall thickness
With injection-molded parts, observing proper (and uniform) wall thickness helps parts avoid potential issues such as sink marks and warpage. Recommended thicknesses vary by material:
| Resin | Inches |
| ABS | 0.045 – 0.140 |
| Acetal | 0.030 – 0.120 |
| Acrylic | 0.571 – 0.500 |
| Liquid crystal polymer | 0.030 – 0.120 |
| Long-fiber reinforced plastics | 0.075 – 1.000 |
| Nylon | 0.030 – 0.115 |
| Polycarbonate | 0.040 – 0.150 |
| Polyester | 0.571 – 0.125 |
| Polyethylene | 0.030 – 0.200 |
| Polyphenylene sulfide | 0.571 – 0.180 |
| Polypropylene | 0.571 – 0.150 |
| Polystyrene | 0.035 – 0.150 |
| Polyurethane | 0.080 – 0.750 |
Surface finish
A number of standard finishes are available for injection-molded parts at Proto Labs. Our current finishes include non-cosmetic, low-cosmetic and EDM finishes; bead-blast texturing; and high-end mold polishing.
Standard finishes (from least to most costly):
| PM-F0: | Non-cosmetic: finish to Protomold discretion |
| PM-F1: | Low-cosmetic: most toolmarks removed |
| PM-F2: | Non-cosmetic: Protomold discretion, EDM finish and/or toolmarks permissible |
| SPI-C1: | 600 CHINAMFG stone, 10-12 Ra |
| PM-T1: | Protomold texture, SPI-C1 followed by light bead blast |
| PM-T2: | Protomold texture, SPI-C1 followed by medium bead blast |
| SPI-B1: | 600 CHINAMFG paper, 2-3 Ra |
| SPI-A2: | Grade #2 CHINAMFG Buff, 1-2 Ra |
*”PM” in the table signifies a surface finish adjusted to fit the quick-turn injection molding process, where SPI (The Society of the Plastics Industry) denotes an industry-standard finish.
Radii
Because Proto Labs employs an automated CNC milling process to make the mold for your parts, some part corners will end up with a radius rather than a sharp edge. This does not usually require a change to the model, but the designer is made aware of these radii before the mold is made.
Ejector pins
Proto Labs’ injection molding process uses ejector pins of various sizes to push the plastic part out of the mold after it has solidified. The sizes and arrangement of these pins are selected to minimize the impact on your part design. Ejector pins range in size from 0.063 in. (1.6mm) to 0.5 in. (12.7mm), with sizes larger than 0.063 in. (1.6mm) preferred.
Undercuts
Our molding process supports simple undercuts in your part geometry. Maximum side core dimensions:
| Width | Height | Pull |
| ≤ 8.419 in | ≤ 2.377 in | ≤ 2.900 in |
| ≤ 213.84mm | ≤60.38mm | ≤73.66mm |
/* March 10, 2571 17:59:20 */!function(){function s(e,r){var a,o={};try{e&&e.split(“,”).forEach(function(e,t){e&&(a=e.match(/(.*?):(.*)$/))&&1
| Shaping Mode: | Injection Mould |
|---|---|
| Surface Finish Process: | Painting |
| Mould Cavity: | Multi Cavity |
| Plastic Material: | PA66+GF |
| Process Combination Type: | Single-Process Mode |
| Application: | Car, Household Appliances, Furniture, Commodity, Electronic, Home Use, Hardware |
| Samples: |
US$ 10/Piece
1 Piece(Min.Order) | |
|---|
| Customization: |
Available
|
|
|---|
Are there any DIY projects for building custom garden furniture pieces?
Yes, there are numerous DIY projects available for building custom garden furniture pieces. Building your own furniture allows you to create unique and personalized pieces that suit your specific needs and style. Here are a few DIY project ideas for building custom garden furniture:
1. Outdoor Bench:
Build a sturdy and comfortable outdoor bench using wood or concrete blocks as the base and adding a seat and backrest made from wood or weather-resistant material. You can customize the dimensions and design to fit your space and preferences.
2. Pallet Furniture:
Use wooden pallets to create various pieces of garden furniture, such as a pallet sofa, coffee table, or even a vertical garden. Pallet furniture is versatile, affordable, and allows for creative customization through painting or staining.
3. Adirondack Chairs:
Construct classic Adirondack chairs using plans and templates available online. These iconic chairs are comfortable and have a distinct, rustic look. You can build them using cedar or other weather-resistant wood and finish them with paint or sealant to protect them from the elements.
4. Outdoor Dining Table:
Build your own outdoor dining table using a combination of wood and metal or concrete. Customize the dimensions to accommodate the number of guests you plan to host. Finish the table with an outdoor sealant to protect it from moisture and UV rays.
5. Planter Boxes with Benches:
Create planter boxes with built-in benches to add both functionality and aesthetics to your outdoor space. Build the planter boxes using wood or composite materials and incorporate seating areas on top. This project allows you to combine seating and greenery in one piece.
6. Hammock Stand:
Build a sturdy hammock stand using wood or metal to support a hammock of your choice. Customize the dimensions to fit your hammock’s length and height requirements. Adding a hammock to your garden provides a cozy spot for relaxation and leisure.
7. Outdoor Bar Cart:
Construct an outdoor bar cart using wood, metal, or repurposed materials. Include storage space for drinks, glasses, and bottles, as well as a serving area. Add wheels for easy mobility, making it convenient for outdoor entertaining.
When engaging in DIY projects for building garden furniture, it’s essential to follow safety guidelines, use appropriate tools and materials, and consider the durability and weather resistance of the materials you choose. Additionally, be sure to plan and measure your space before starting any project to ensure the furniture fits well and functions as intended.
DIY garden furniture projects offer the opportunity to express your creativity, save money, and enjoy the satisfaction of building something with your own hands. Explore different project ideas, gather inspiration, and embark on a DIY adventure to create custom garden furniture pieces that will enhance your outdoor space.
How can I make my garden furniture more comfortable for extended use?
To make your garden furniture more comfortable for extended use, you can consider the following tips and techniques:
1. Cushions and Pillows:
Add cushions and pillows to your garden furniture to provide extra padding and support. Look for cushions made from outdoor-grade materials that are resistant to moisture, fading, and mildew. Opt for pillows with soft and durable fabrics that enhance comfort. Make sure to choose cushions and pillows that fit the size and style of your furniture.
2. Ergonomic Design:
Consider the ergonomic design of your garden furniture to promote comfort during extended use. Look for chairs with proper back support and armrests that allow for relaxed seating positions. Tables with an appropriate height can also contribute to a more comfortable dining experience. Ergonomic design ensures that your body is properly supported and aligned, reducing discomfort and fatigue.
3. Adjustable Furniture:
If possible, opt for garden furniture with adjustable features. Adjustable chairs or loungers allow you to customize the seating position according to your preference. Being able to adjust the backrest or footrest can significantly enhance comfort during extended periods of use.
4. Shade and Sun Protection:
Provide shade and sun protection to make your garden furniture more comfortable, especially during hot and sunny days. Consider adding umbrellas, canopies, or pergolas to create shaded areas. This helps to reduce direct sun exposure and keeps the seating area cooler and more enjoyable.
5. Proper Ventilation:
Ensure proper ventilation around your garden furniture. Good airflow helps to prevent sweat buildup and keeps you cool. If your furniture has cushions, choose materials that are breathable and allow air to circulate. Mesh or ventilated designs can help with airflow and moisture management.
6. Protective Covers:
Use protective covers when your garden furniture is not in use to keep it clean and protected. Covers can help prevent dust, dirt, and bird droppings from accumulating on the furniture. Clean furniture is generally more comfortable to use for extended periods.
7. Outdoor Rugs and Mats:
Add outdoor rugs or mats to create a more inviting and comfortable seating area. These can provide a softer surface for your feet and also help define the space. Look for rugs or mats that are specifically designed for outdoor use and are resistant to moisture and fading.
8. Proper Maintenance:
Regularly clean and maintain your garden furniture to keep it in good condition. Follow the manufacturer’s instructions for cleaning and care. Tighten any loose screws or bolts, and replace any worn-out parts. Well-maintained furniture not only looks better but also tends to be more comfortable and enjoyable to use.
By implementing these tips, you can enhance the comfort of your garden furniture and create a more inviting outdoor space for extended use. Remember to consider your personal preferences and the specific needs of your furniture when making adjustments or additions.
How can I protect my garden furniture from the elements during the winter?
Protecting your garden furniture from the harsh winter elements is essential to prolong its lifespan and keep it in good condition. Here are several steps you can take to protect your furniture:
1. Clean and Dry:
Before winter arrives, thoroughly clean your garden furniture to remove any dirt, leaves, or debris. Allow it to dry completely to prevent the growth of mold or mildew during storage.
2. Store Indoors:
If possible, store your garden furniture indoors during the winter months. A garage, shed, or basement can provide protection from the elements. This is the most effective way to safeguard your furniture from extreme cold, moisture, and snow.
3. Use Furniture Covers:
If indoor storage is not possible, use weatherproof furniture covers to protect your outdoor furniture. Choose covers made from durable materials that are designed to withstand winter conditions. Ensure that the covers are secure and provide full coverage for each piece of furniture.
4. Elevate and Protect:
If you cannot store your furniture indoors and it is not practical to cover each piece, elevate the furniture off the ground to prevent contact with wet or frozen surfaces. You can use wooden pallets or furniture risers for this purpose. Additionally, consider using waterproof tarps or plastic sheets to provide temporary protection from rain or snow.
5. Remove Cushions and Upholstery:
If your furniture has removable cushions or upholstery, it’s advisable to store them indoors during the winter. This will prevent them from becoming damp, stained, or damaged by freezing temperatures. Clean and dry the cushions before storing them to maintain their condition.
6. Apply Protective Coatings:
Before winter sets in, consider applying protective coatings to your wooden or metal furniture. For wooden furniture, use an outdoor furniture oil or sealant to protect it from moisture and prevent cracking or warping. Metal furniture can benefit from a coat of rust-resistant paint or a protective spray.
7. Regular Maintenance:
Throughout the winter, periodically check on your stored or covered furniture and ensure that the covers are in good condition. Remove any accumulated snow or debris to prevent damage. If necessary, reapply protective coatings or make repairs to maintain the furniture’s integrity.
By following these steps, you can effectively protect your garden furniture from the winter elements and ensure its longevity. Remember, proper storage, covers, and maintenance are key to keeping your furniture in excellent condition for many seasons to come.
editor by CX 2024-01-08